Oh no, don't turn away! It's not as complicated as it
sounds.
Falafel always fascinated me and whenever I found the
opportunity I always ordered them. Sometimes I was very happy with my choice
whilst others I was confronted with a soppy, oil soaked, flavourless
patty. But not this time.
 I was reading an article on Food 52 which explained how easy
it was to make Falafel at home from scratch, so with all the list ingredients
ready at hand, I tried it out this weekend.
I was reading an article on Food 52 which explained how easy
it was to make Falafel at home from scratch, so with all the list ingredients
ready at hand, I tried it out this weekend.
I am at the stage where lots of weekend cooking and
preparation saves me precious time during the week, so this recipe was prepared
and cooked on Sunday in preparation for the week ahead. Surprisingly though,
when we all had a taste of the first patty to make it out of the pan, my
carnivorous family where all willing to ditch the roast in favour of these
delicious "burgers".
No need to worry, the animal did not die in vain; the roast
was devoured minutes later!
So here what you need
to buy to make falafel
2 cup of dried chickpeas (which is just under 500g)
1 small onion
A handful of fresh mint
A bunch of fresh flat-leaved parsley
2 cloves of garlic
A generous pinch of salt
½ teaspoon fresh ground black pepper
2 teaspoons ras el hanut (this is a North-African spice
mixture)
2 lemons, juiced
And here is what you need
to do:
The night before you plan on preparing these little
flavoursome parcels, soak the chickpeas in a large bowl. Make sure there is enough water in the bowl
as they will absorb quite a lot.
The next day, whenever that suits you, place all the above
ingredients, except the chickpeas into a blender and blitz for a few seconds.
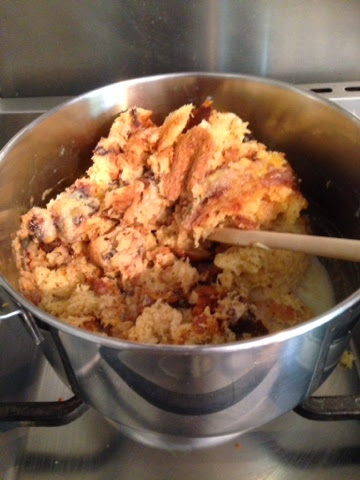
Now drain the chickpeas and add them to the blender. Blend
until all turns into one nice big spicy smooth paste. Make sure that it is
really smooth as there is nothing else to bind the patties together except the
consistency of the paste itself.

Using your hands, turn the paste into patties. The size
depends on how you want to serve them. If you are making burgers then portion
them into burger-sized patties but if you will be serving them in pitta pockets
then I suggest you make them smaller. This way you'll be able to fit a few in and get the lovely flavours with every bite.
As an indication, these quantities make around 18
burger-size patties. If you think that's too much I suggest that you still go with these amounts
and just freeze any leftover falafel; they will be a true life saver when
you're too hungry or tired to cook!